DEVELOPING ILFORD B&W FILM AT HOME THE EASY WAY
There comes a time in every film photographers life where either general curiosity, or more likely an urgent desire to save on film lab costs, makes us consider trying our hand at developing our own film. I struggled with this for quite a while largely because I figured I’d probably screw up every single roll of film trying to learn it. This is a serious fear considering the cost of film and the potential of destroying your own work. But eventually, I decided to leap in and try.
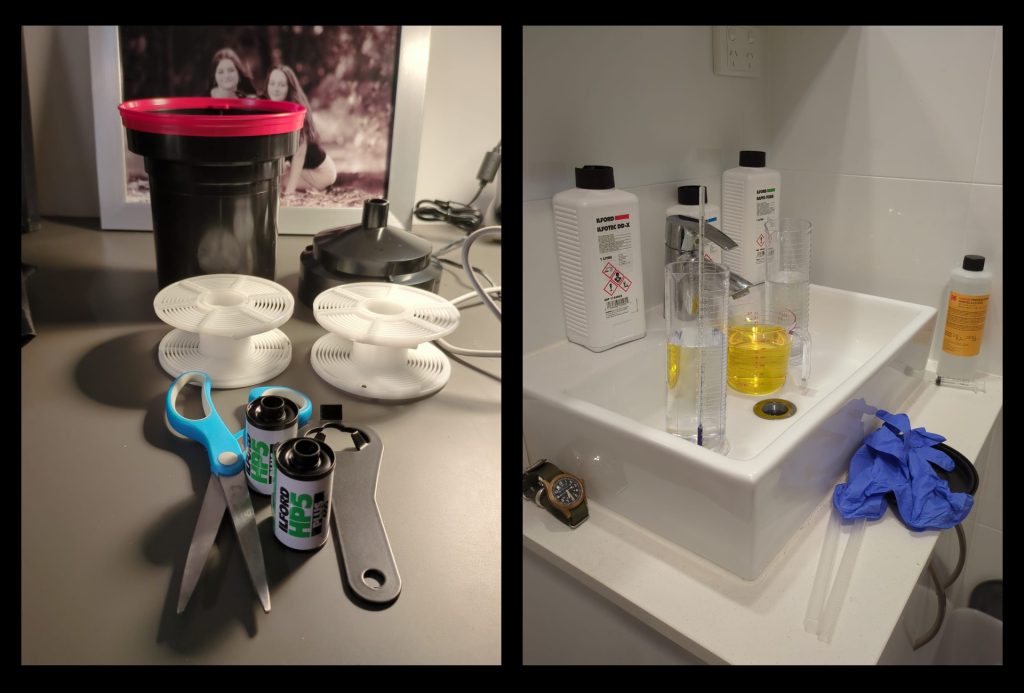
There’s a bit of equipment to pick up first, and much of it can be found really cheap second hand (Facebook Marketplace was my go to). I picked up the following bits and pieces for my home development kit:
- A Patterson Development Tank (plus 2 reels/spirals) for two rolls of 35mm or a single roll of 120mm
- A cartridge opener for cracking open those film cartridges
- A Patterson dark bag for loading film into the Patterson tank spirals
- A pair of scissors for snipping film off cartridges
- 2x 600ml Patterson graduate beakers (I use these for Developer, and Fixer)
- 1x 600ml kitchen measuring jug (a third Patterson graduate would be better!), I use this one for the stop bath, and at the very end, for the final rinse with Photo-Flo
- A thermometer (this is critical for getting development times right)
- Disposable kitchen gloves (safety first when handling development chems!)
- A pair of Patterson film clips for hanging negatives (I think these are fantastic)
- A developing tray or similar to go under wet negatives in case they drip
- 4 generic clothes pegs for weighing down wet negatives when drying
- A 30 cent syringe from my local chemist for adding Photo Flo to final rinse
- A big plastic storage container to keep everything organised (which fits perfectly under my bathroom sink cabinet)
There’s also development chemicals required; a developer, a stop bath (optional), a fixer, and a wetting agent (also optional). Now, there’s a LOT of options here from different companies, including but not limited to Ilford, Kodak and CineStill. I’m not going to go into this here because there’s going to be a great deal of personal preference, not to mention general experimentation, that goes into a decision here. But for my purposes, keeping in mind at this stage I am mostly developing Ilford HP5+ 400, I wanted to keep it fairly straight forward. Here are the chemicals I’ve chosen under advice from people smarter than me:
- DEVELOPER: Ilford Ilfotec DD-X liquid concentrate (1L)
- STOP BATH: Ilford Ilfostop Stop Bath liquid concentrate (500ml)
- FIXER: Ilford Rapid Fixer liquid concentrate (1L)
- WETTING AGENT: Kodak Photo-Flo 200 solution (437ml)
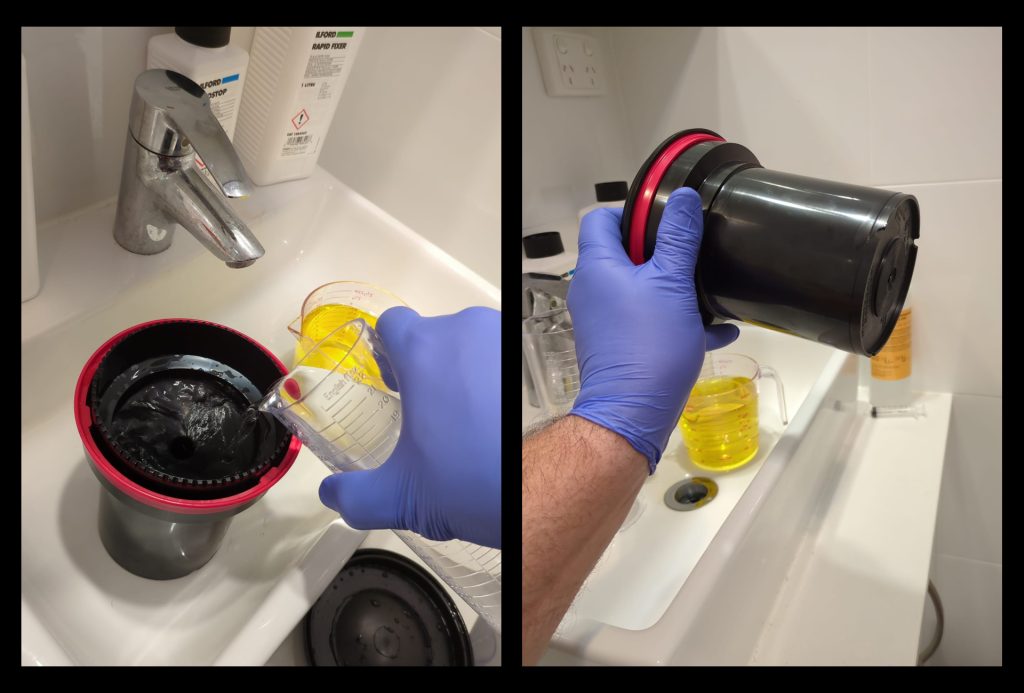
To keep it as easy as possible, I always develop 2 rolls of 35mm film at a time (I havent yet tried 120 film). With two rolls the chemical mix is really straight forward. I mix these first before I get the film ready and leave them to sit at room temperature so I can take a final temperature reading just prior to development. The solutions for 2 rolls go as follows: Developer (400ml water + 100ml developer), Stop Bath (475ml water + 25ml Stop Bath), Fixer (400ml water + 100ml Fixer), and then Final Rinse (400ml water + 2ml Photo Flo).
Once ready, it’s time to load the film into the tanks, which is for me the absolute hardest part of the process. Before attempting my very first rolls for development, I practiced this part with a few rolls I’d stuffed up in the past (who HASN’T accidentally opened a camera back with film already loaded??). And you need to practice, because it’s done inside a dark bag where you cannot see what you’re doing. But essentially the process is as follows:
- Load the reels/spirals, the Patterson tank pieces, a pair of scissors, a cartridge opener (or bottle opener will do), and of course the rolls of film. Seal off the end of the bad (my bag uses velcro tabs for this).
- Feed your hands into the bag and make sure the elastic armholes at very least come half-way up each forearm (if you are like me with sizeable arms, this can take a bit of wiggling!)
- Find a cartridge, the opener, and carefully pry off one end cap from the cartridge
- I like to slide the film out a little, find the leader, and then slide the leader plus a frame or so into the film guide of the cartidge and push the film back into the cartridge. Its now like your film began, with its leader sticking out like a tongue (minus one end cap of course!)
- Find the scissors, chop off the leader from the film, and then snip the corners off the start of the film as well (helps feed it into the reel)
- Now find a reel. I like to line up the entry points on each side so they are in the same position as I find it easier to slide the film in that way. Then very carefully, slide a few inches into the spiral-opening until the film pushes past the bearings on each side. Then carefully but with purpose, ratchet the spiral sides to feed the whole roll into the reel (it helps to watch video tutorials first like THIS VIDEO). When you come to the end of the film, use the scissors to cut the film away from its spool and ratchet the reel a few final times so all the film is loaded.
- Find the Patterson tank centre column, load the reel onto it, and load into the tank.
- Find your next film cartridge, and repeat the process above. Load the second finished reel onto the tank centre column as well, then take the tank funnel part and push into the tank and twist to lock it in. The film is now protected from the light!
- You can now open up the dark bag, remove the tank and other bits and pieces, clip on the tank lid just for safety, and you are all set for the next stage.
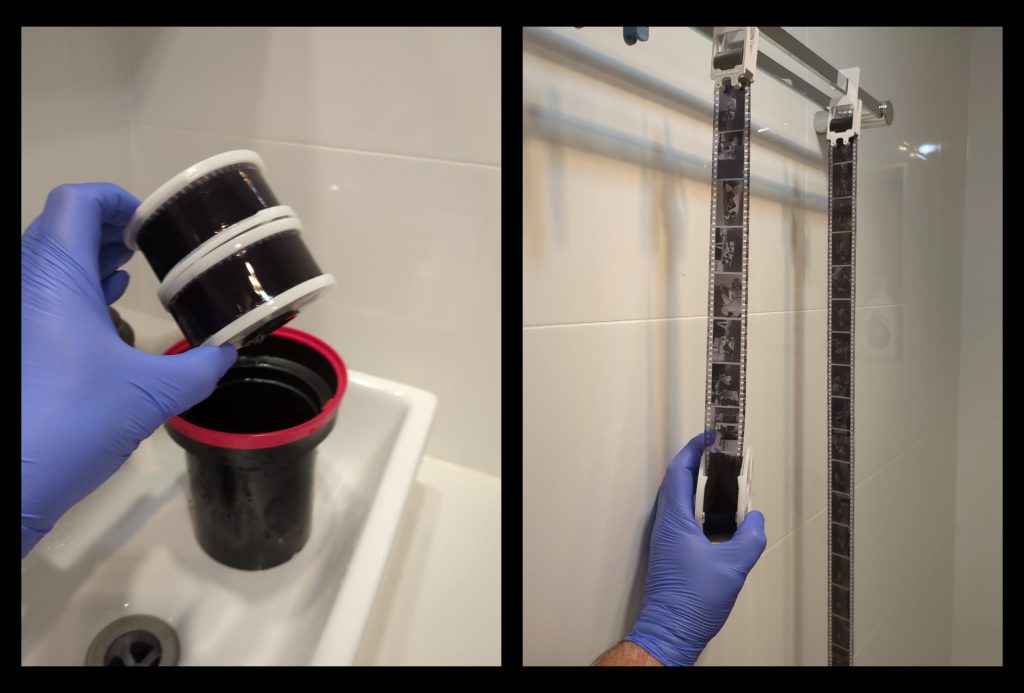
Now you’re ready to start developing. First of all, using your thermometer, take a temp reading for your developer solution. 20 degrees C (68 degrees F) is the baseline developing temp, any deviation to this requires some adjustments to the timings of development. Ilford (and I assume other companies) have good technical documents to help with conversions of time by temperature, but by far the easiest way to do it is with a mobile app called Massive Dev Chart Timer (available for both Apple and Android devices). With the App you can select the films you’re developing, the specific chemicals you’ve chosen, and the temperature of your chemicals, and it will set up the entire process for you including the time for each step of the process. Once you hit start it literally counts down each step AND tells you when to agitate the tank, and when to set it down. It is nothing short of brilliant for making the process as easy as possible.
Essentially, development goes as follows.
- Pour the developer solution into the tank, tightly close the lid, and start agitating (ie start turning the tank upside down and back upright repeatedly). The Massive Dev Timer will let you know when to stop, place the tank on a flat surface and tap the lid firmly a couple of times to release any bubbles that may have settled on the film. You’ll basically agitate and the set it aside throughout the development period (which is approx. 9-10mins at 20 degrees C), making sure to tap the lid each time you set it down.
- After the dev time is up, open the lid and pour out the developer. Now add the stop bath and agitate a few times, then pour out after roughly a minute (note you can reuse the stop bath solution, I pour mine into a black plastic container ready for the next time you use it – as long as it is still yellow and not turning purple it should be fine to reuse). *Note many people just use a tap water rinse as their stop bath.
- Add the Fixing solution and agitate as per the app, for approx. 5 minutes, then pour out.
- Now it’s time to rinse the film with fresh water. There are a few ways to do this but for ease, I do it in the tank as follows: fill the tank with water, agitate 5 times, empty. Fill the tank again and agitate ten times, then empty. Refill and agitate 20 times, then empty. Continue like this until the rinse time is up.
- At the end of the rinse, I do one final step – I pour in the Photo Flo solution and sit the tank still for a minute (don’t agitate or it will foam up and leave marks on the film – ask me how I know!). Then empty and get ready to hang your film immediately.
- Remove a reel, pull some of the film out, place a clip on the end of the film and clip to a high rail or similar. Then carefully pull the film from the reel until it is free. Take a couple of clothes pegs, add to the bottom of the film to weigh it down (so it dries straight). Now do the same with the second reel.
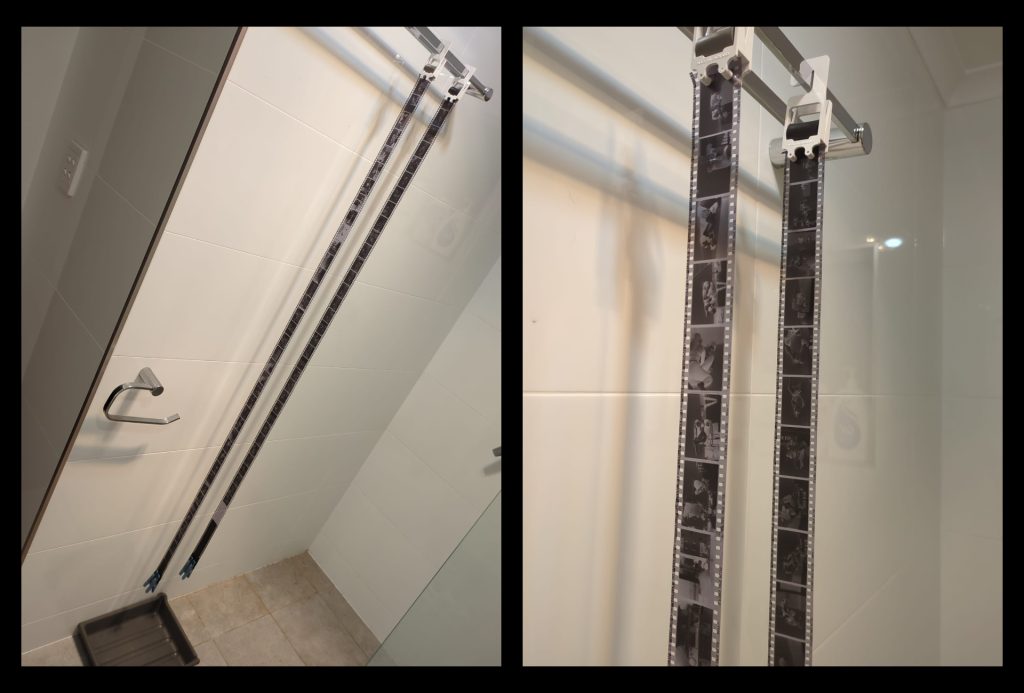
Now, this part is somewhat controversial. A film squeegee can be used to squeeze off any excess water, as leaving water to dry on your negatives will leave water marks. In my experience, the squeegee can scratch the negatives. I’m sure others can manage not to do this, but I’ve spoken to quite a few home developers who have the same problem. Some people run their glove-clad fingers down the film once to remove water. But I find the 60 second Photo Flo soak at the end makes this unnecessary, the final rinse just sheets off anyway leaving the negatives clear of water. For me, this has been the most effective way to do this.
Then it’s time to leave the freshly developed negatives to dry. I find 2-3 hours in the bathroom with the overhead heater on does the job perfectly. Just be aware that dust is your enemy so make sure your drying area is as free from dust as possible. I had advice to run a hot shower prior to developing in my bathroom so the steam captures any dust in the room – no idea if this actually works…. but I do it anyway!
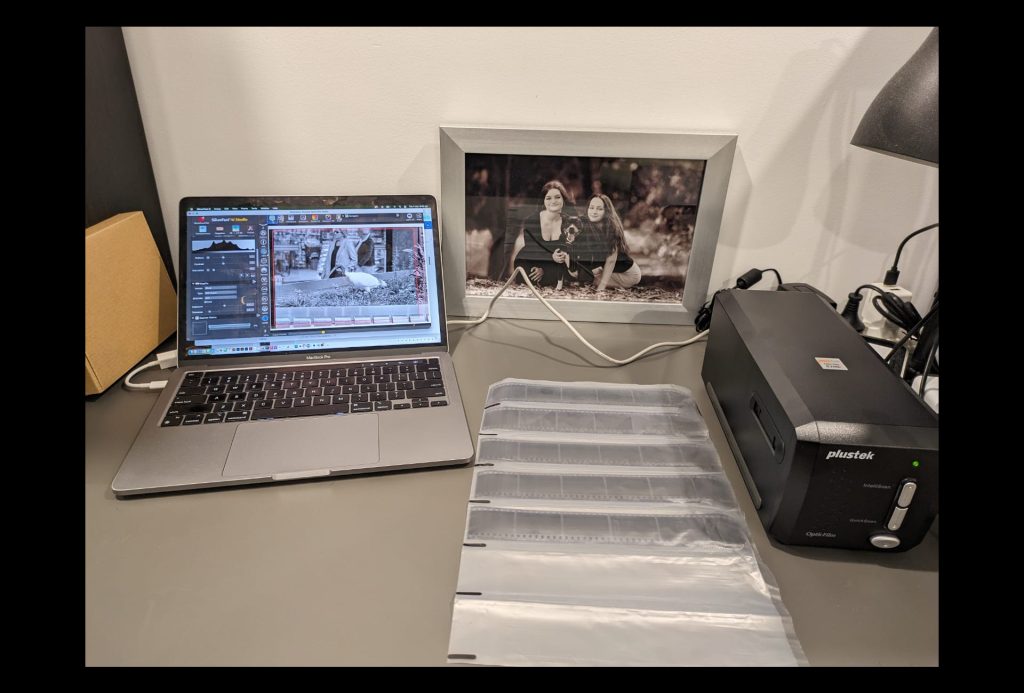
For those of us without the means to create prints, it’s most likely you’ll want to scan your negatives into digital files (which is what I do). Once my negatives are dry, I cut them into 6 frame strips and archive. These strips are the perfect size for the second hand Plustek negative scanner I picked up cheap from Ebay. Its a slow scanning process done frame by frame, but it gives me a good chance to properly review each frame, make any adjustments prior to a final scan (occasionally even skipping a bad frame!), and then do a final scan before moving onto the next frame. Two rolls of 36 exposure film take me about 90 minutes to review and scan this way.
And that’s it! I usually do some clean up digitally from here. Repair any scratches or dust marks, make any final cropping decisions, finalise any level adjustments, and save. Then I can sit back and review my photos and decide if any of them are actually worth showing publicly, or better yet, even printing – ha!
It takes a few attempts to get comfortable at the process, but once you do, and if you are inclined to spend the time, its incredibly rewarding to shoot and then develop your own photos. It’s also far cheaper to process film this way, which is a huge bonus. If you’re thinking about giving it a try, don’t be put off by what looks like a complex process, it really isn’t once you’ve done it a few times. And if you have any questions (noting I am an absolute rookie at this and still learning!) feel free to send me a DM on Instagram – @seansmith.photos.
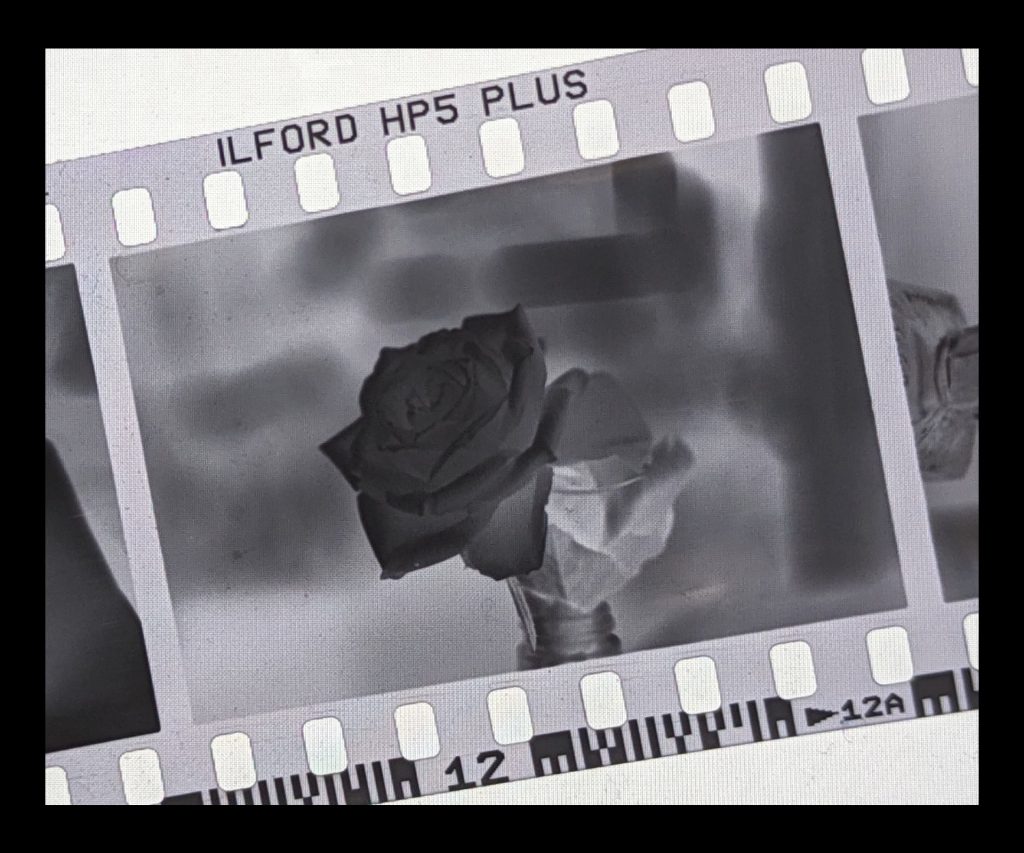
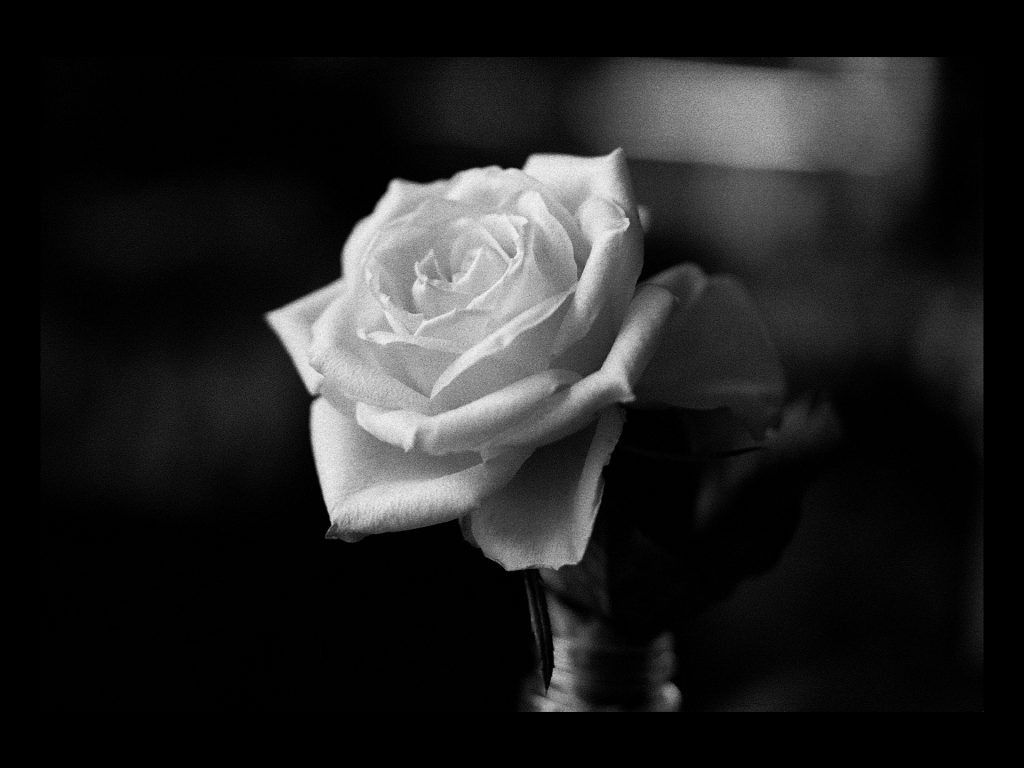
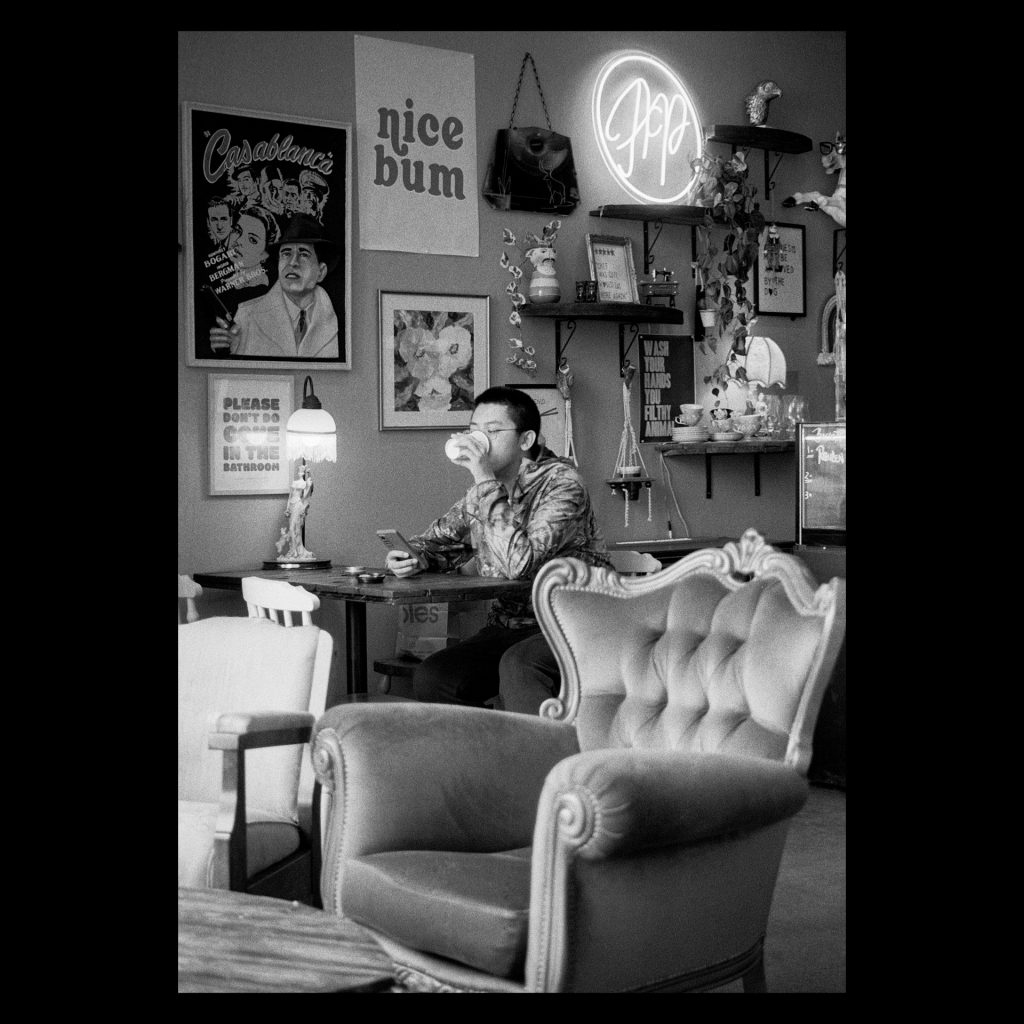
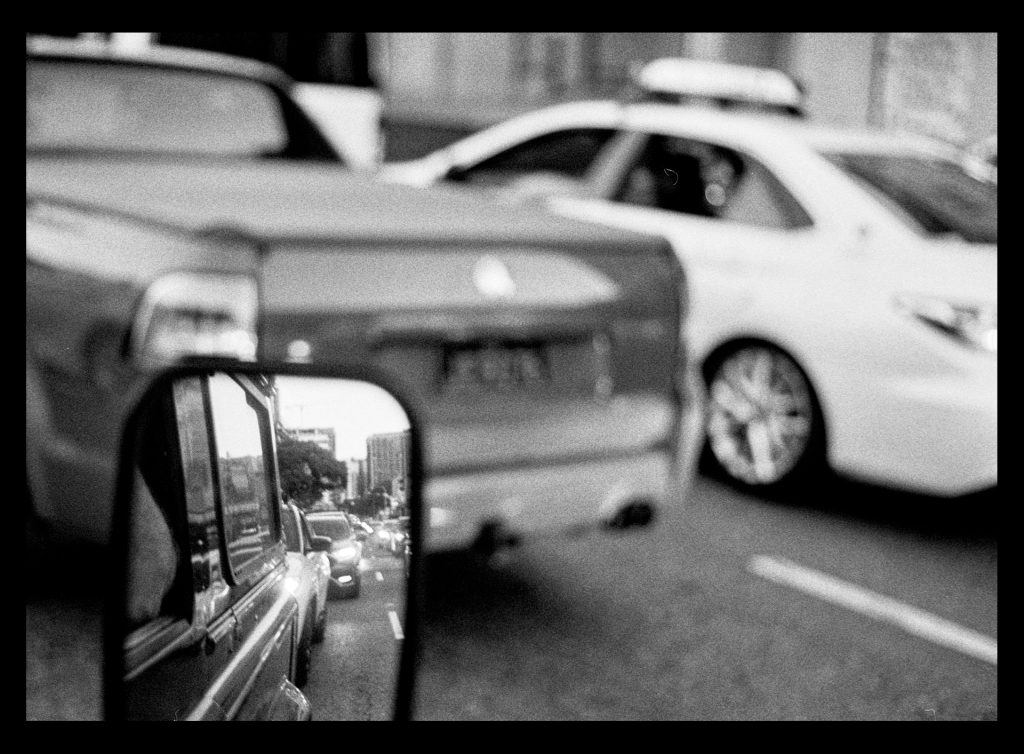
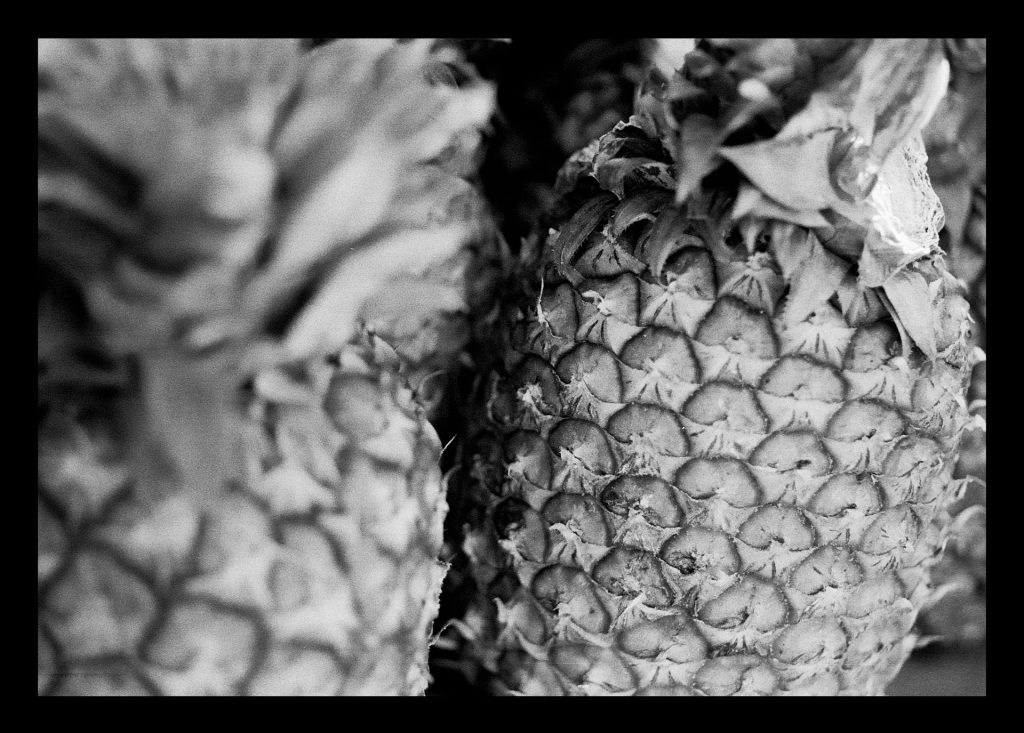
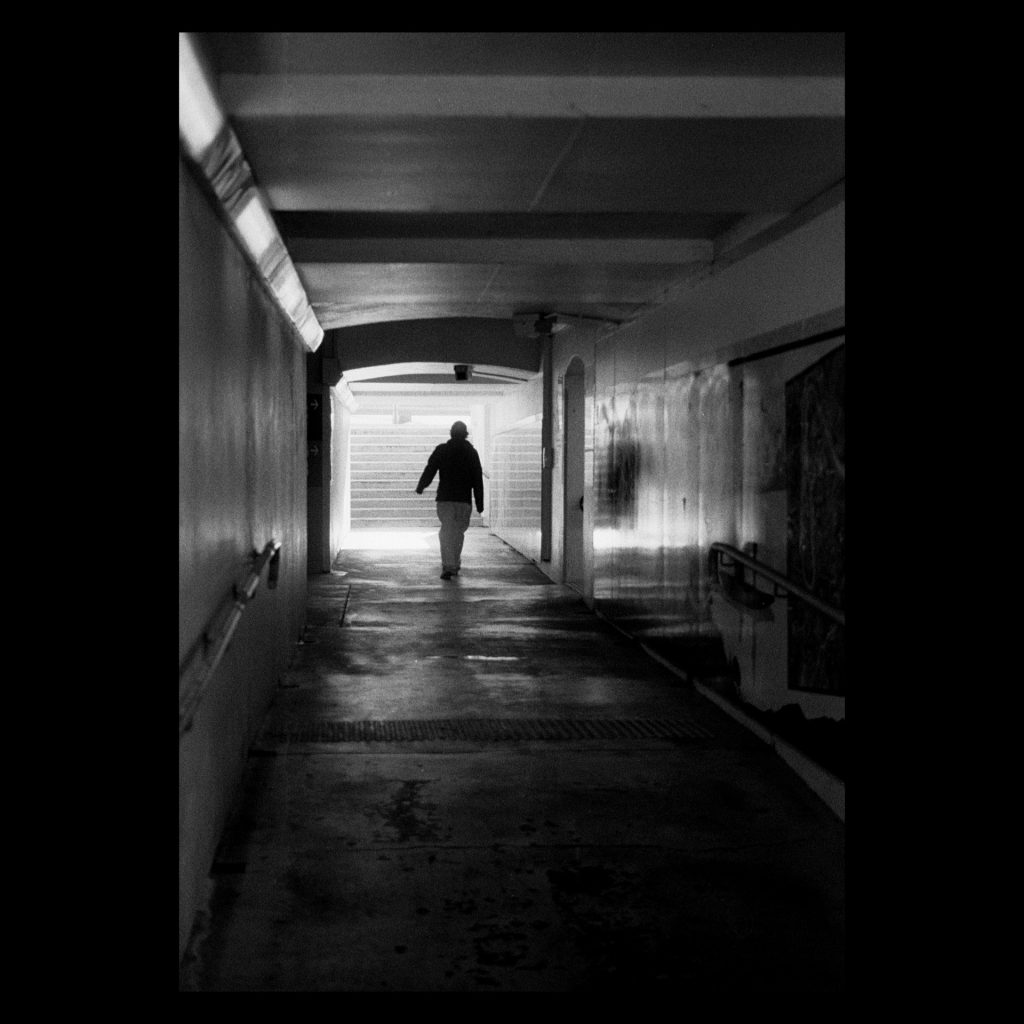
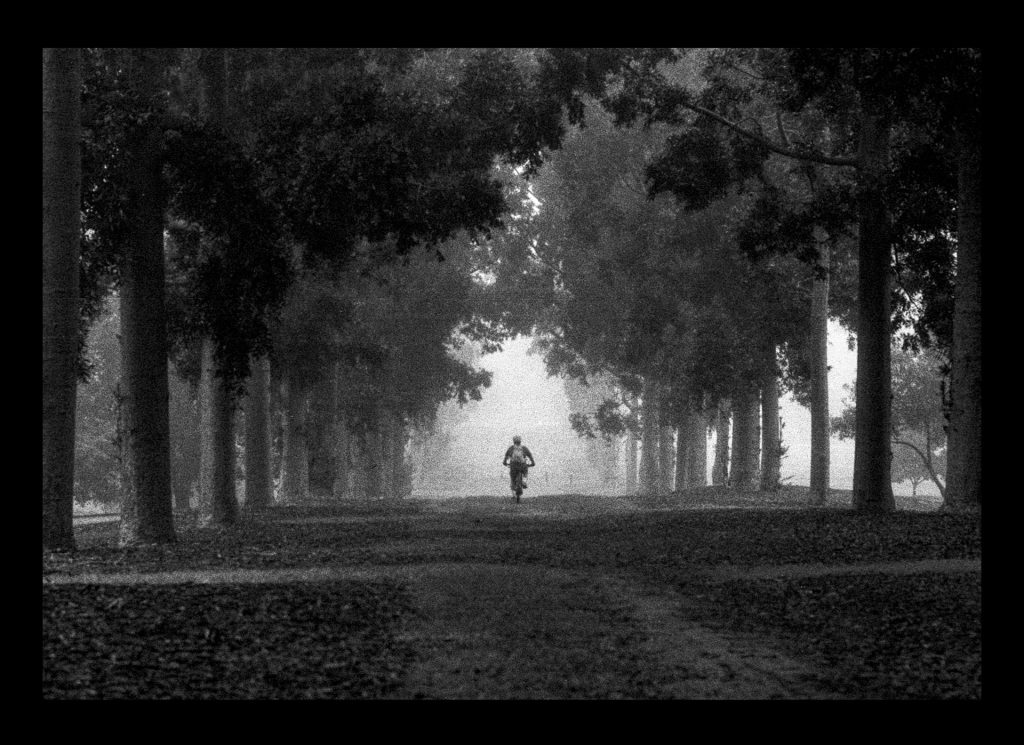
A few examples of home developed shots below – cheers!